Introduction
Experience the simplicity and power of the original disk operating system by installing MS-DOS 6.22 directly inside VirtualBox. This tutorial provides a quick and safe way to emulate the classic hardware environment required to run vintage games and tools on your modern PC. Read on to configure your virtual machine and successfully boot into the command line.
Prerequisites & System Requirements
Before starting your digital time machine, ensure you have the following software and resources ready.
1. Software & Media
- Oracle VirtualBox: Ensure you have the latest version installed on your host computer.
- MS-DOS 6.22 Installation Media:
- Note: You must supply your own copy of MS-DOS 6.22. This software is still under copyright and cannot be downloaded from this guide.
- Format: You will need Raw Disk Images (
.imgor.ima) of the 3 setup disks. - Physical Owners: If you own the original 3.5″ floppies, you will need a USB Floppy Drive to convert them into image files using a tool like WinImage, as VirtualBox cannot reliably access physical floppy drives directly.
2. Virtual Hardware Specs
We will be configuring this Virtual Machine to the maximum specifications MS-DOS 6.22 can natively handle without additional drivers or partitioning tricks. Please ensure your host machine can spare the following resources (which should be no problem for any modern computer!):
- RAM: 64 MB
Why? While DOS runs on much less, 64 MB is a safe “maximum.” It ensures plenty of Extended Memory (XMS) for demanding late-90s DOS games while avoiding compatibility bugs that occur when assigning too much RAM (over 64MB) to older software. - Hard Disk Space: 2 GB
Why? MS-DOS 6.22 uses the FAT16 file system, which has a hard limit of 2 GB per partition. We will create a single 2 GB drive to maximize space without needing to slice it into multiple drive letters (D:, E:, etc.).
3. Recommended Extras
- DOS Idle Utility (
DOSIDLE.EXE): Highly recommended to prevent the virtual machine from using 100% of your host CPU. - Generic CD-ROM Driver Disk: An image file containing
OAKCDROM.SYSandMSCDEX.EXEto enable CD support later.
Step-by-Step Instructions
1. Create New Virtual Machine
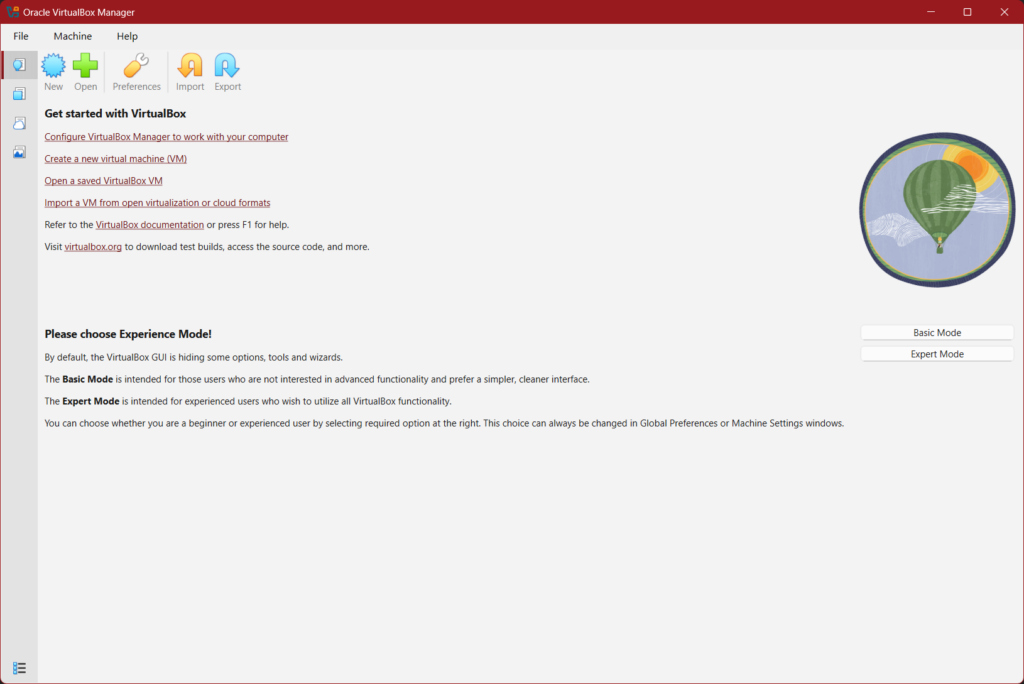
Begin by creating a new virtual machine by selecting New from the main menu of VirtualBox.
Note: [Optional warning or helpful tip for this step.]
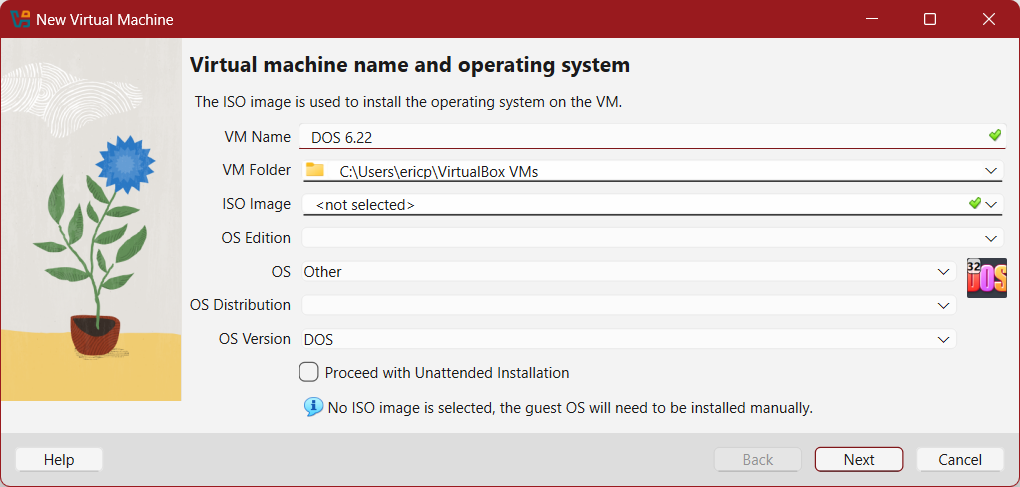
2. Configure Initial VM Settings
Define your VM Name and storage location. By entering “DOS 6.22”, it will automatically load a DOS reference icon.
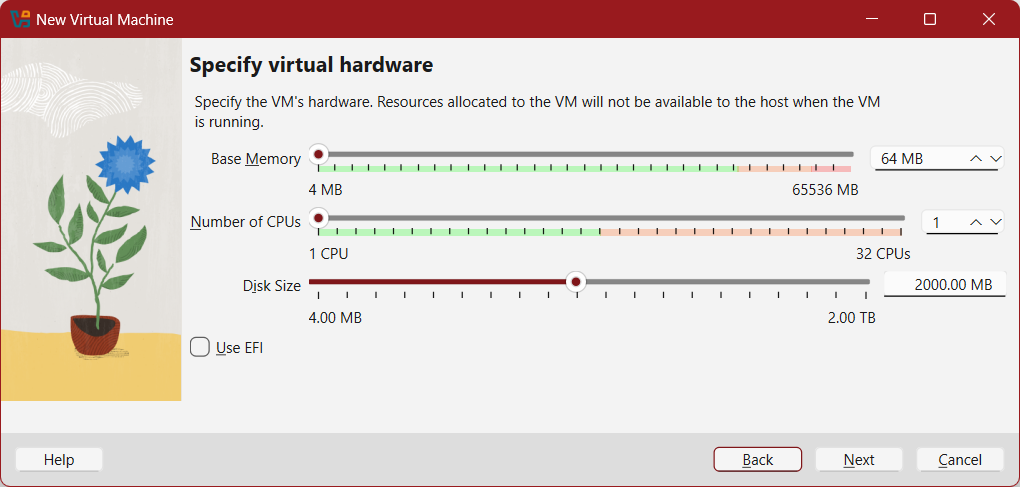
3. Define Virtual Hardware Settings
Define your available Memory/RAM. The CPU should always be set to 1. Define your disk size. There is no need to use EFI.
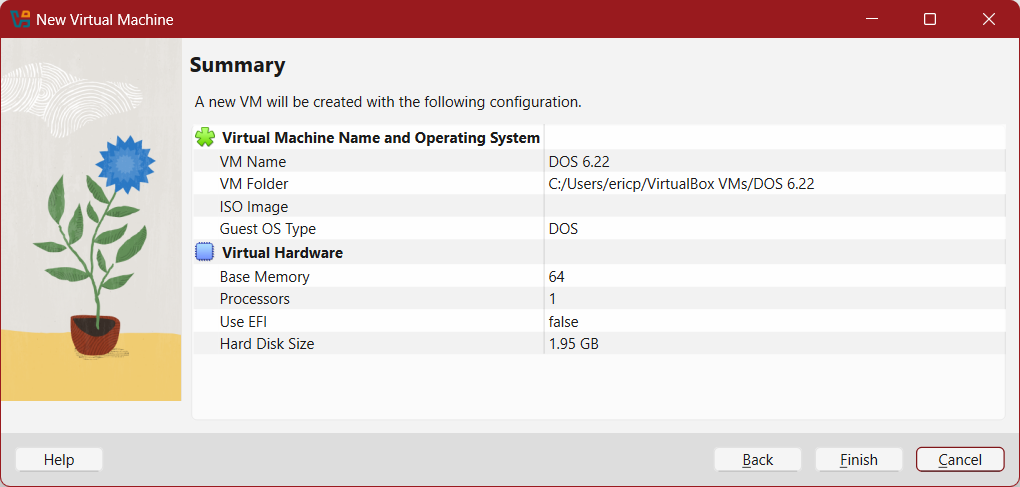
4. Double Check Information
Once everything has been defined, you will be able to confirm the configuration is correct, or go back and correct anything that is wrong. Select Finish when done.
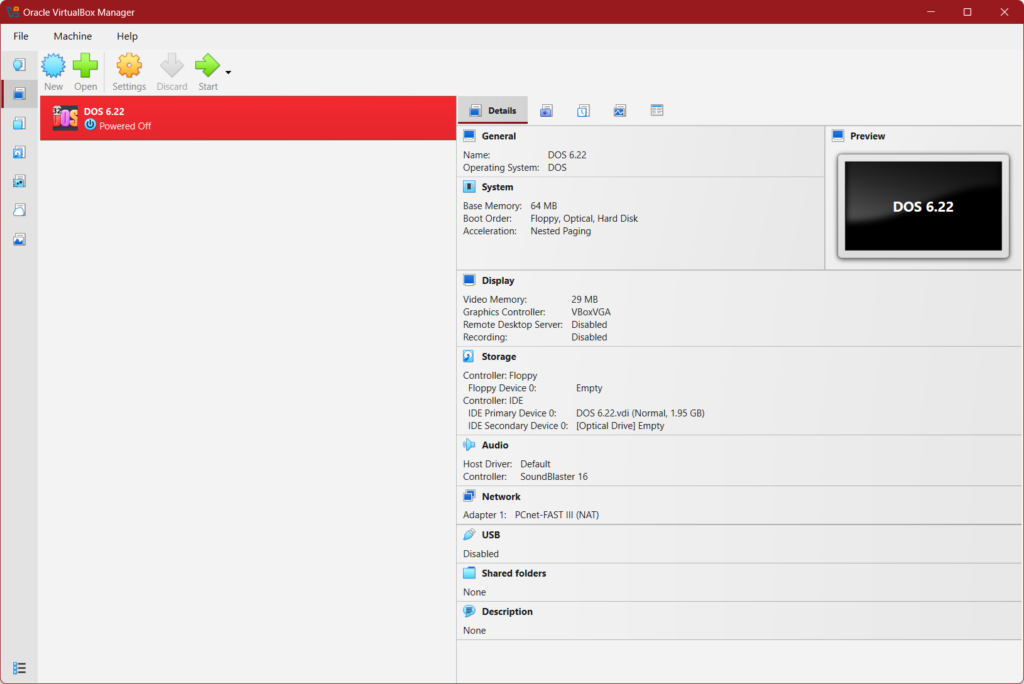
5. Almost Ready to Install DOS
Your new machine will appear on the list of available machines once complete.
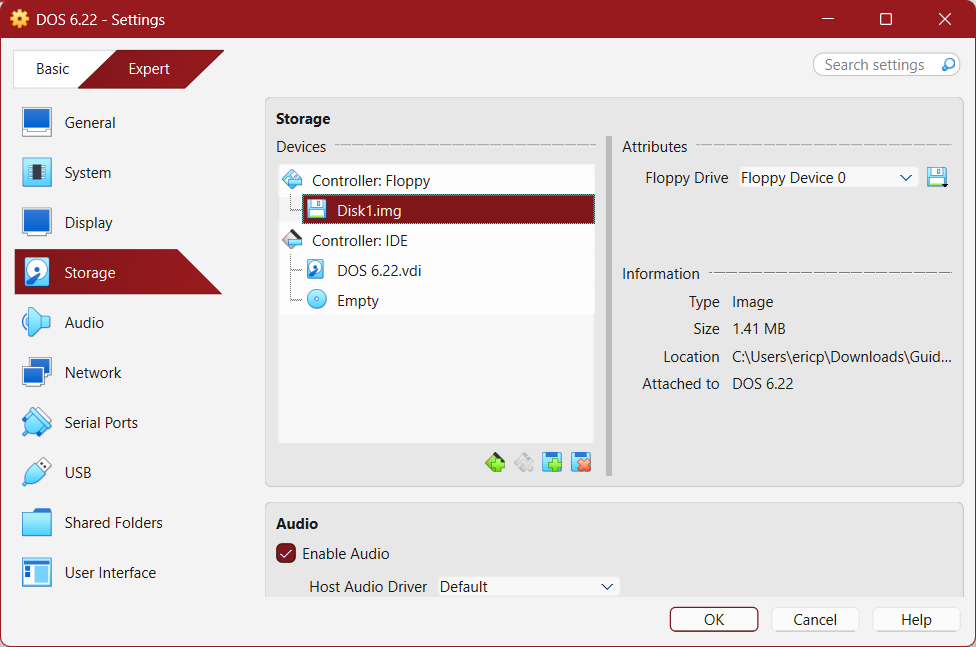
6. Final Preparation
In order to install DOS 6.22, you will need to mount your floppy disk image before starting. Do so by clicking on the gear/settings icon. Navigate to storage, select the floppy disk controller, and under Attributes, select the disk Icon to load the “Disk 1” image and select OK when done.
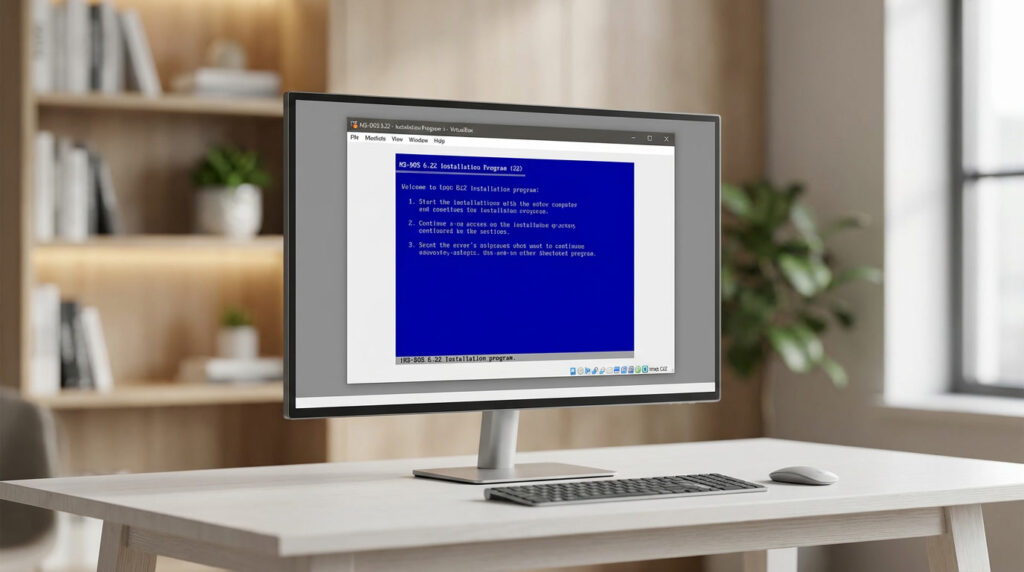
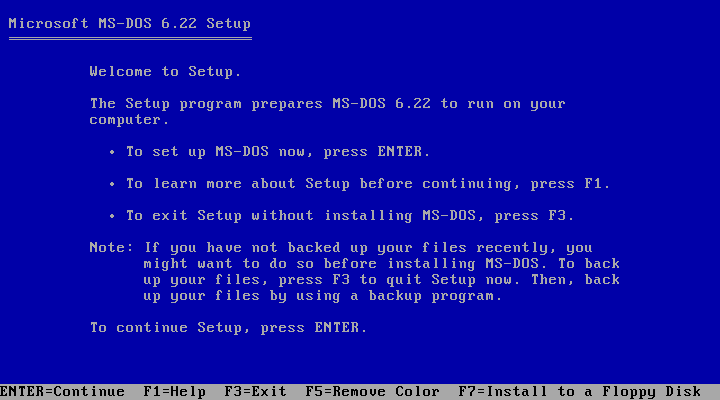
7. Begin Installation
After mounting your disk image, you should be able to select “Start” from the menu to start running your new VM. It should boot right into the DOS 6.22 Installer. Simply follow the on-screen instructions.
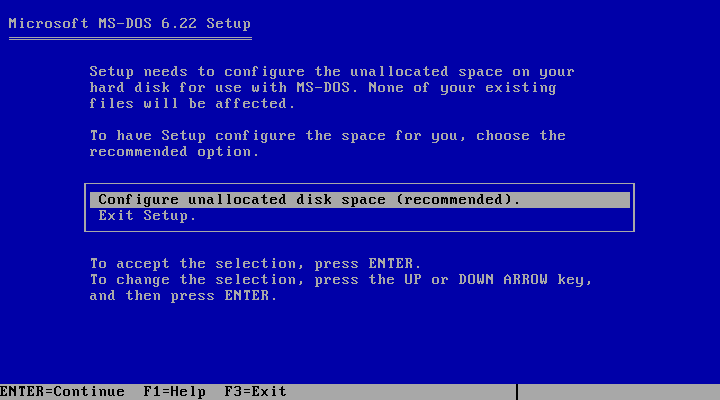
8. Configure/Format Disk
Setup will look to format your disk space. This is normal and you really only receive 2 options. It will then make sure you have disk 1 still loaded before restarting.
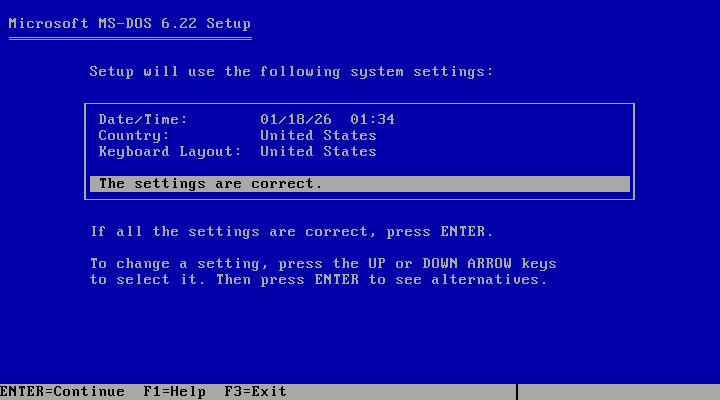
9. Verify Settings
After formatting and rebooting, setup will look to verify your settings. You can change these if necessary by following the on-screen instructions, or simply hit ENTER to continue.
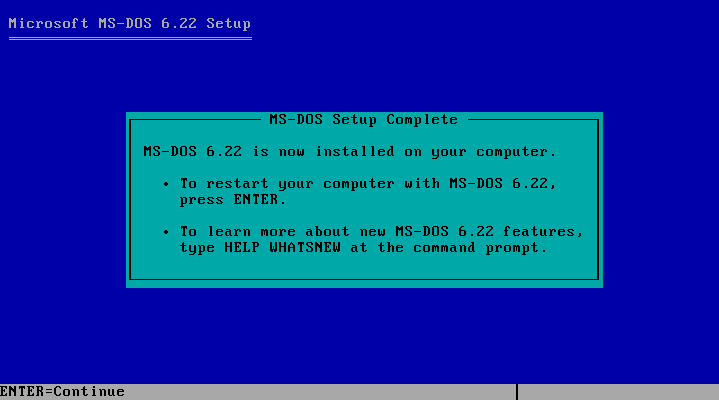
10. Complete Installation
Setup will start copying files and request the other disks. You can right click on the floppy icon and use the menu to select the requested disk images to continue, and use the eject disk selection when finishing.
10. Install CD-ROM Driver
In order to make use of any CD’s or CD images, you’ll want to install the driver for it as it isn’t supported out of the box.
Boot up your VM, mount the driver image file into your virtual floppy drive as you did the DOS install images, and use the following code.
COPY A:\OAKCDROM.SYS C:\DOS
With the driver copied over, you will need to make some file edits in order to get the driver to load, and for the drive itself to be accessible. Use the code below to begin doing so.
EDIT C:\AUTOEXEC.BAT
With the file editor now open, you can use your arrow keys to navigate around as your mouse will not work. You will want to add in the code below.
LOADHIGH=C:\DOS\MSCDEX.EXE /D:MSCD001
The addition should look something as shown below. You can use ALT+F, ALT+S, and ALT+X to navigate the menu to save and exit the file.

You will now need to edit a second file which can be done by using the following command.
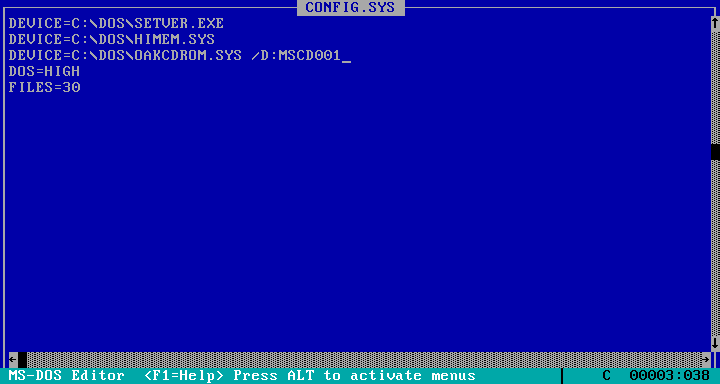
EDIT C:\CONFIG.SYS
Add the code below to the file.
DEVICE=C:\ DOS\OAKCDROM.SYS /D:MSCD001
The finished file should appear similar to what is shown below.
Conclusion
You have successfully [restated the goal]. You can now enjoy [benefit of the guide]. If you ran into issues, feel free to leave a comment below or check out our other guides on FlesherNET.
